Template:X-Series/Installation/X-FWR
Physical Installation
Mounting the Device
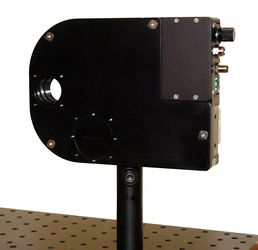
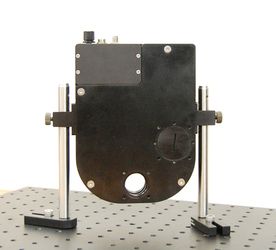
To mount the X-FWR filter wheel to an optical breadboard, a single optic post can be used as shown. Alternatively, using the AP134 post mounts, the device can be mounted to two posts either horizontally or vertically.
Exchanging Filter Holders
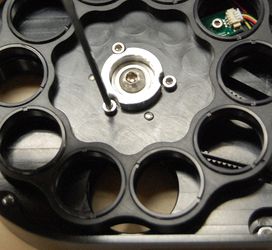
Place the new filter holder in position, ensuring that the two dowel pins and three screw holes line up. Tighten the three M3 screws firmly to hold the new wheel in place and prevent the screws from loosening during operation. Re-install the housing lid. If the new holder fits filters of a different size, ensure the correct apertures are open and the covers are installed on the unused aperture size.
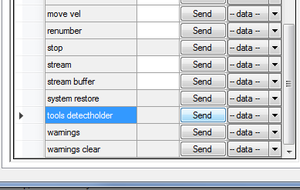
To update the settings for the X-FWR filter wheel for your newly installed filter holder, send the tools detectholder command to automatically configure the device. You can also manually set the filter holder ID by sending set filter.holderid (T:81) with the ID value for your installed wheel.
Optic Installation
Optics can be installed in to the filter holders using the provided retaining rings. To access the filter holder, remove the housing lid using a 2.5mm hex key.
Restoring Settings or Updating Firmware
When new firmware is installed on the X-FWR, or a restore settings command is sent, the settings for the installed filter holder may be lost. You can send the tools detectholder command to automatically re-configure the device or set the filter holder ID by sending set filter.holderid (T:81) with the ID value for your installed wheel.


